Tuesday, June 18, 2013

Bell Pepper Calzones

Bell Pepper Calzones
I love watching cooking videos on the net.I have some favorites and I keep watching it again and again so much so that the recipe and even the background music is imprinted in my mind.Saee's cooking videos are a beauty by itself.Irrespective of whether you try the recipe or not,I can assure you'll fall in love with it,for sure.

I don't know how many times I've watched her bread video.I keep looking for a difficult step somewhere,I mean there has to be right?How can someone make bread baking look so easy?After baking with yeast for a while now,I am a little bit more confident than I was before when I attempt a recipe.
Bell Pepper Calzones
Yeastspotted
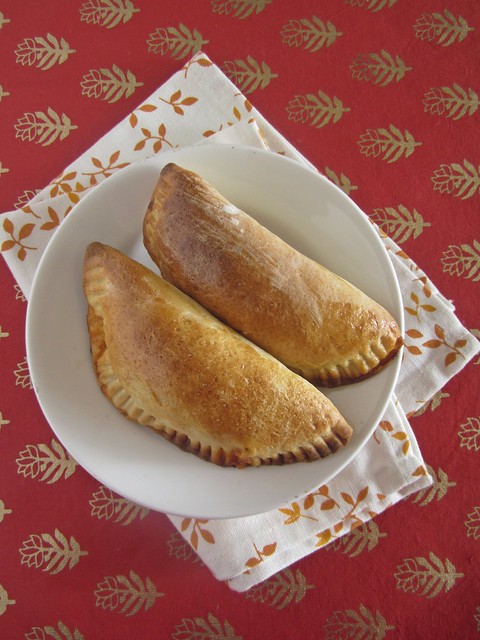
When I saw her Calzones video,I knew right there that this was one recipe I could see myself baking again and again.Ajay is a total savories person and he is only too happy that I am trying out savory bakes he could gorge on and this one was a sure shot winner.Crunchy bell peppers with a slight tang from the tomatoes along with cheese,I am in love with this one!

Bell Pepper Calzones
Recipe source - Saee's My Jhola
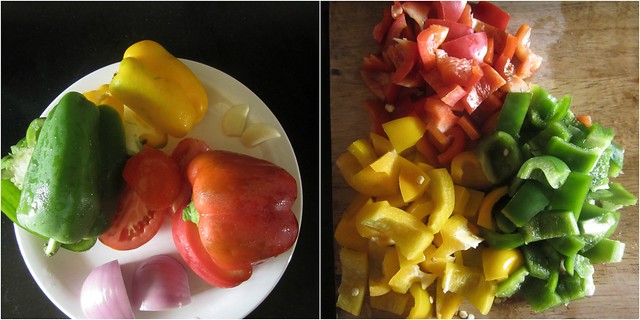
Bell Pepper Calzones Ingredients

Instant Dry Yeast - 1 1/2 tbsp (I used Mauripan)
Sugar - 1 tbsp
Warm water - 3/4 cup + 3/4 cup
All purpose flour/maida - 3 cups
Salt - 1 tbsp
Oil - 1 tbsp

For the filling

Oil - 1 tbsp
Garlic cloves - 2,minced
Onion - 1 big,finely chopped
Tomatoes - 3 medium,finely chopped
Bell peppers - 3,1 each of red,green and yellow-cubed
Red chilly powder - 1/2 tsp
Salt to taste
Tomato ketchup - 2 tbsp
Dried Basil - 1/2 tsp
Mozzarella cheese - 100 gms,grated
Egg - 1,beaten(optional)

Method
Bell Pepper Calzones 
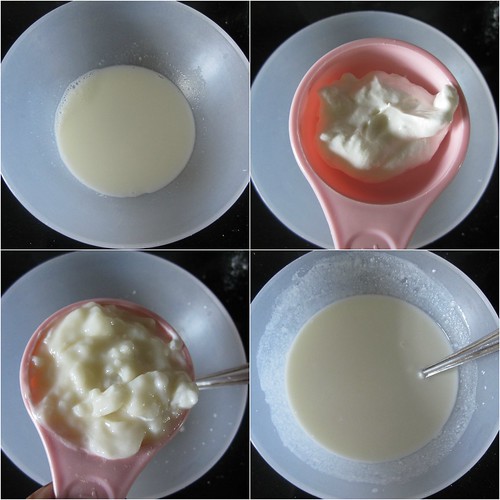
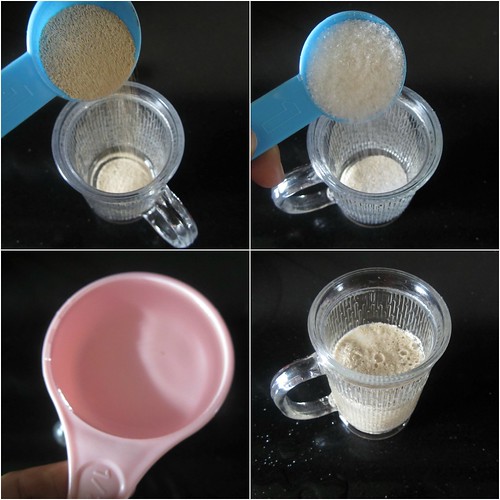
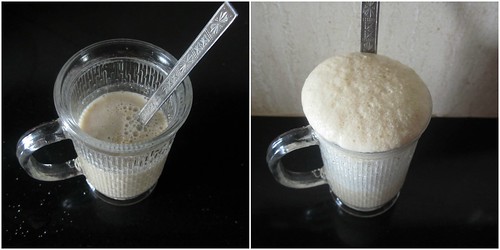
Mix together warm water,yeast and sugar in a bowl.Let it rest for 2-3 minutes till frothy.
Bell Pepper Calzones 
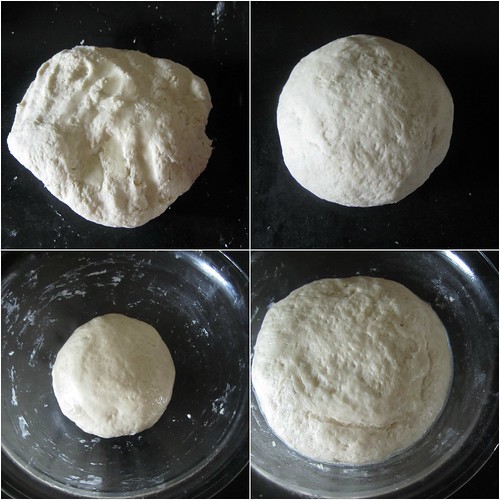
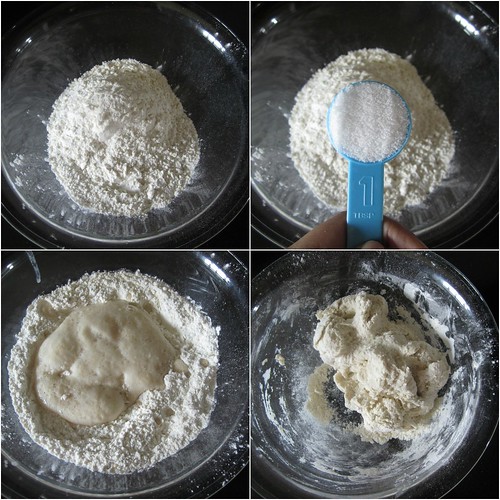
In a big mixing bowl add flour and mix in salt.Pour the yeast mixture and start kneading the dough.Add more lukewarm water as required till you get a smooth dough.
Bell Pepper Calzones 
Mix in the oil.
Bell Pepper Calzones 
As an additional step,I kneaded the dough for around 5 minutes on my counter top till the dough was smooth and shiny,but this step is optional.
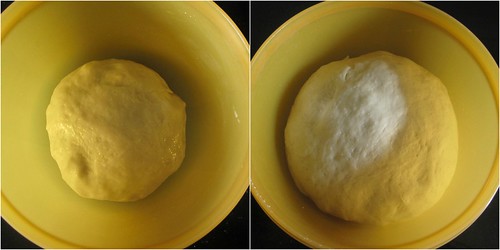
Smear some oil on the bowl in which the dough was mixed and place the dough in it to rise.It took an hour in my kitchen for the dough to rise double its size.

Make the filling
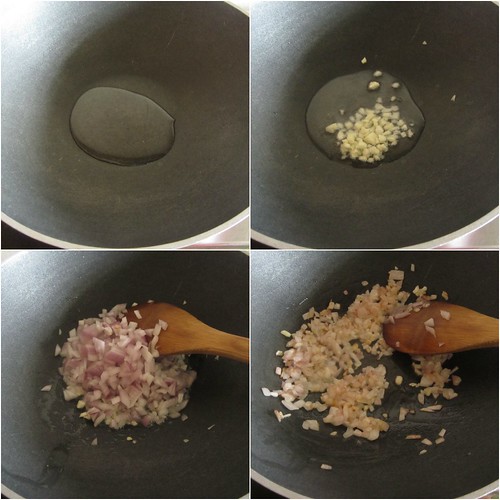
Bell Pepper Calzones 
In a kadai add oil and saute the minced garlic and onions till golden brown.
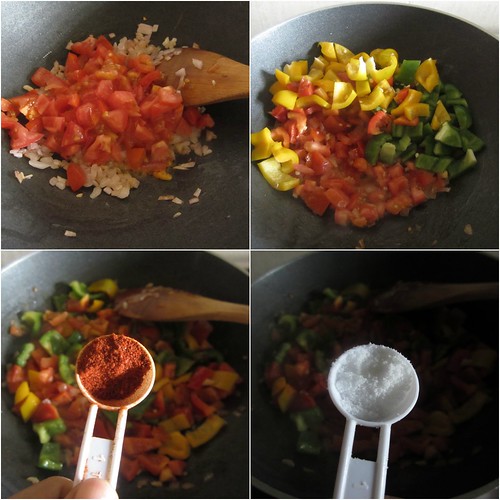
Bell Pepper Calzones 
Mix in the chopped tomatoes followed by the bell peppers.
Add red chilly powder,salt and tomato ketchup and saute for 2-3 minutes.
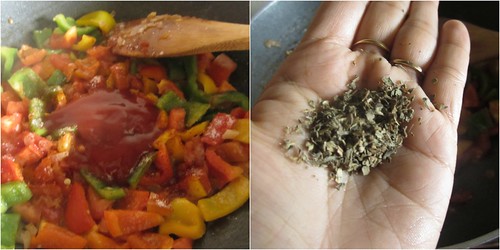
Bell Pepper Calzones 
Mix in the dried basil and switch off the flame.
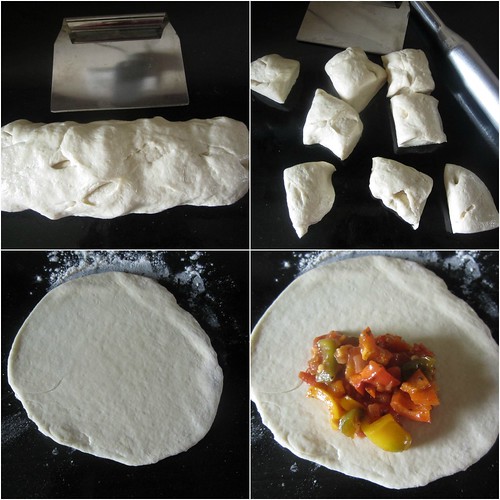
Bell Pepper Calzones 
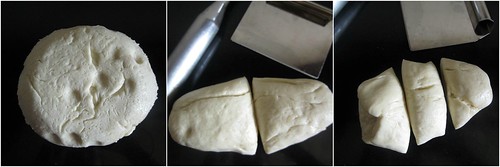
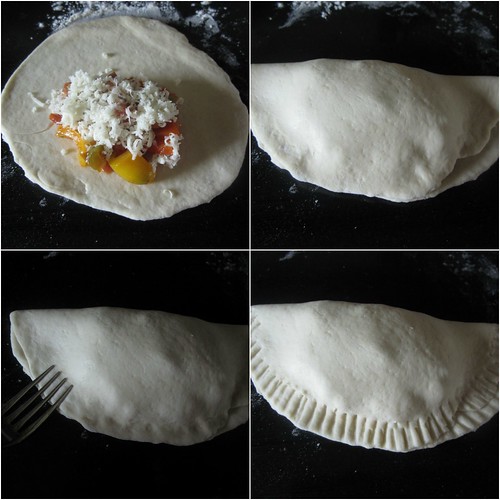
Punch down the dough and divide into 8 equal portions.Flour the counter top and roll the dough into a round shape approximately 7-8' diameter.
Bell Pepper Calzones 
Place the filling-about 2 tbsp and top with the grated cheese and fold over.
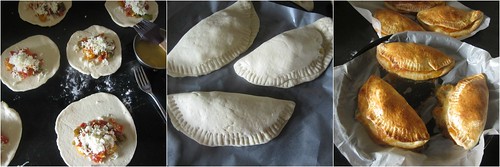
Seal the edges using a fork.Brush the top of the calzones with the beaten egg,if using.
Bell Pepper Calzones 
Transfer to a baking sheet and bake at 200C for 10-12 minutes or until golden brown.


Thursday, June 13, 2013

Mango Recipes on Easycooking

Are you done with eating Mangoes this summer?Now who am I kidding,we can never get tired of eating mangoes which make its presence only for a few months in a year.For us it is always the same,we enjoy the mangoes as is for a long time and when the season is just about to end,I am looking for ways to incorporate mango in my cooking and baking.
Ambya Gojju is a no-cook sweet mango curry(except for the tempering) which works perfectly as a cool after-meal dessert.Choose fibrous mangoes so that you can keep dipping the seed in the sauce and lick them off your fingers!
Mango Buttermilk Pound cake is a take on the classic Lime Buttermilk pound cake.A simple Vanilla cake recipe flavored with mango pulp and spiked with dry ginger powder.Serve it plain or with a mango cream sauce.
Ambya Paank or Mango preserve is a wonderful way to keep eating mangoes even after the season ends.Add equal amount of mango and sugar and cook till it reaches a jam consistency.Tastes great with bread,chapathi and even dosa!
Mango smoothie or milkshake can be a wonderful summer drink.Chill the mangoes and blend it with milk ice cubes and the summer heat suddenly becomes bearable!
Aamras with Poori can make my diet plans go haywire.I've restricted myself to make poori only twice in a year.Once with aamras and once with Bibbe upkari.Now don't ask me how many I eat at one sitting!
Ambya Ambat is a simple konkani side dish where ripe mangoes are cooked in a dal-coconut gravy.Goes perfectly well with rice as well as on its own.
Fresh mango loaf cake is again,a simple vanilla cake flavored with mango pulp.Makes for a wonderful snack time treat.
Mango Crumble,ripe mangoes cooked with butter and caramelized sugar,flavored with fresh ginger and topped with a streusel and baked till golden brown.Just too good!

When ripe mangoes are being discussed,how can the raw ones be left behind?
Mango Chundo,a delicious preserve made with grated raw mangoes and sugar and even better,made in a microwave.
Raw Mango chutney,raw mangoes ground into a chutney with coconut and green chilly,a spicy addition to any meal.

So what are you cooking/baking with Mangoes this season?

Monday, June 10, 2013

Espresso Choco-chip Bundt Cake

Espresso Choco-chip Bundt Cake 
There are days when I think of baking something and then some other work takes over and the baking gets postponed.Then there are days where I'll be in the kitchen doing a headless chicken run trying to finish one job before the next one crops up.Funnily it is on those days,when I am most busy in the kitchen I try and find solace in baking.

I had to clean up the fridge leftovers and then cross check the provisions for the month and the maid was on leave.Suddenly I had this idea of baking Cinnamon rolls.So I kept all the items on my counter top aside and made space for kneading the dough.After finishing the shaping of the rolls I realized the quantity was too less to be shared.
Espresso Choco-chip Bundt Cake
Immediately decided to bake a cake.Fortunately I had halved this recipe and written down in my word document so assembling everything was an easy job.In between pots and pans occupying space on the counter top,I made way for the cake too and the best part I love about baking is the cleaning up afterwards.

Yes,I find it so therapeutic cleaning up the whole kitchen while waiting for my bread/cake to bake.I find the job gets done fast too!

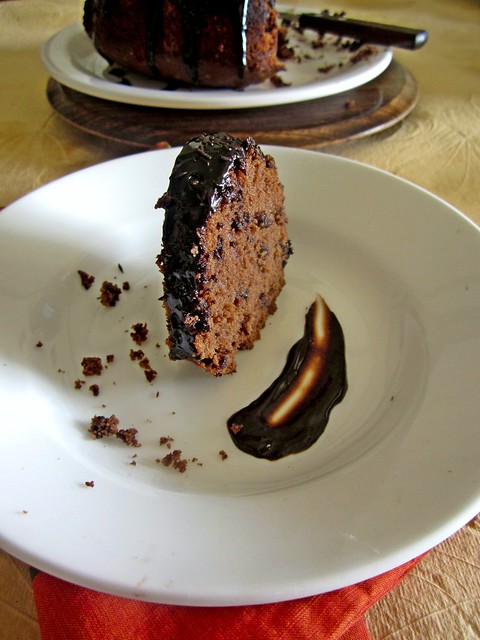
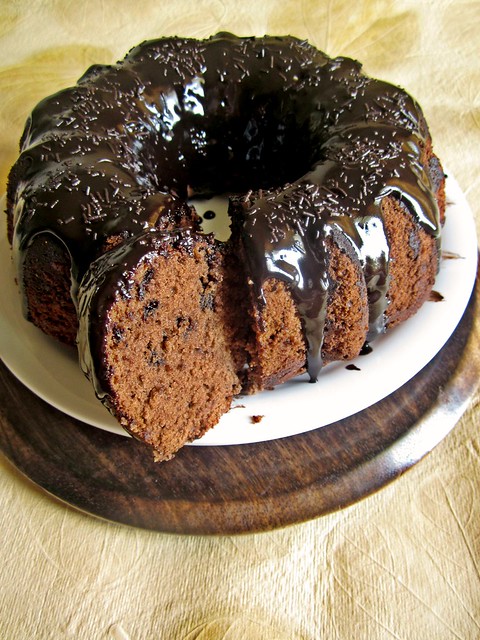
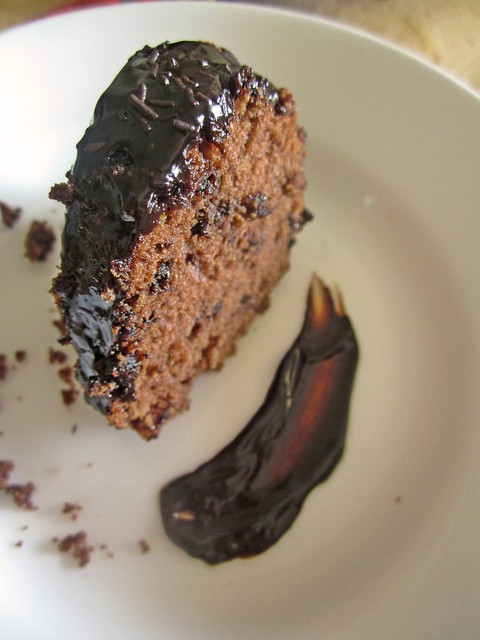
Coffee and chocolate is a combination made in heaven.Deep,rich flavors melding together made this cake a real delight.Chocolate ganache,of course can never go wrong and pairs so well this cake,please don't skip it!
Espresso Choco-chip Bundt Cake
Recipe source - Jane's Sweets and Baking Journal

Ingredients


Coffee powder - 1 tsp
Vanilla extract - 1 tsp 
Hot water - ¼ tsp 
All purpose flour/Maida - 1 ½ cups 
Cocoa powder - ¼ cup 
Salt - a fat pinch
Baking powder - a fat pinch
Baking soda - a fat pinch
Dark chocolate coarsely chopped OR Chocolate chips - 1 cup
Butter - 1/2 cup/100 gms
Granulated sugar - 1 cup
Brown sugar - 1/3 cup
Eggs - 3 medium
Yogurt - ½ cup

Method

Preheat oven to 180C.Grease well a 6 cup Bundt tin.
Espresso Choco-chip Bundt Cake 
Stir together the espresso powder,vanilla extract and hot water in a small bowl.
Espresso Choco-chip Bundt Cake 
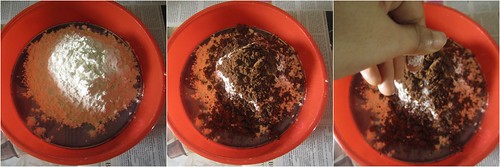
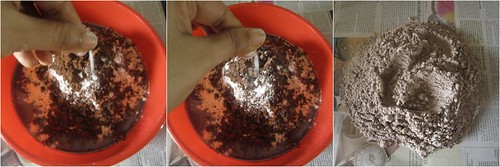
Sift together the flour,cocoa, baking powder, 
Espresso Choco-chip Bundt Cake 
baking soda, and salt. 
Espresso Choco-chip Bundt Cake 
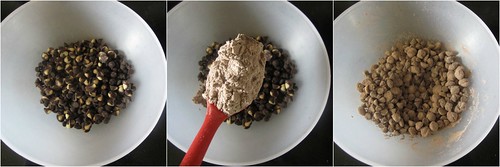
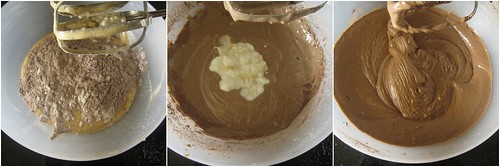
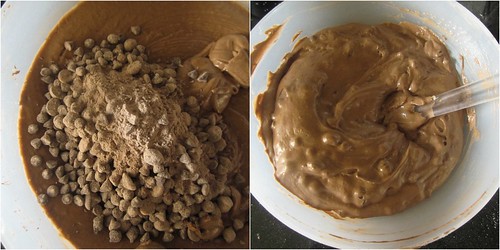
In a medium size bowl, toss the chocolate pieces with about 1 Tbsp. of this flour mixture. Set both aside.
Espresso Choco-chip Bundt Cake 
Cream the butter for for a minute and then add sugar in 3 lots.Add brown sugar and beat for 2 more minutes.
Espresso Choco-chip Bundt Cake 
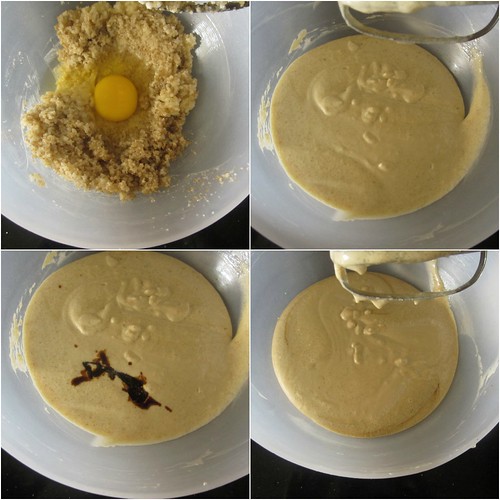
Add the eggs one by one beating for 45 seconds after each addition.
Mix in the coffee mixture and beat again.Scrape the bowl.
Espresso Choco-chip Bundt Cake 
Add the sifted flour and yogurt alternately(3 additions of the flour and 2 additions of yogurt).
Espresso Choco-chip Bundt Cake 
Switch to a spatula and fold in the chocolate chips.
Espresso Choco-chip Bundt Cake 
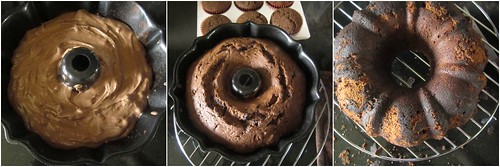
Pour the batter into the prepared pan and bake for 40-45 minutes or until a toothpick inserted into the center comes out clean.
Cool the cake in the pan on a cooling rack for 10-15 minutes.Loosen the edges with a knife and remove the cake from the tin and let it cool for another 20 minutes or so.
Pour ganache on top and let it set for another 10 minutes.Slice and serve.

For the Chocolate ganache
Dark Chocolate - 200gms
Cream - 200 ml
Butter - 1 tbsp 

In a thick bottomed stainless steel pan,heat the cream until bubbles start appearing on the sides.
Mix in chopped chocolate and stir for a while.Switch off heat and let it sit for 5 minutes.
Whisk well till no chocolate lumps appear and the ganache becomes smooth and creamy.Mix in the butter.
Let it cool down to room temperature and use as required.
Espresso Choco-chip Bundt Cake
Notes
  • The original recipe uses sour cream and I substituted it with yogurt,which turned out just fine.Additionally,it also has cream as an ingredient and I forgot to add it,still fine :)
  • I greased the bundt pan with butter and dusted with cocoa powder.Somehow,the heat caused the cocoa powder to brown slightly and form a teeny layer on top of the cake,which didn't affect the taste but the looks.
  • Make sure you mix the chocolate chips with flour,it helps in evenly distributing the chocolate in the cake batter.

Thursday, June 6, 2013

I love your Blog - Dassana, Veg Recipes of India

I don't know if it is the gorgeous pictures or the simple recipes or the pleasing layout which drags me to Dassana's blog.But I know for sure that it is her passion and hard work which makes the site so popular it is today.I still remember when I hopped on to her blog first.I had posted a Biryani recipe and Nags commented on the post saying she too posted a Pulao on her blog and Dassana as well.

I Google'd her blog and now I am absolutely hooked to it.Gorgeous pictures of food literally call out to you.Here are a few of my favorites from her blog in no particular order.
Mysore Masala Dosa like how it is served in Bangalore/Mysore restaurants.Crisp dosa,smeared with a garlic chutney and filled with a spicy potato filling served with sambar and chutney on the side.The pretty coriander leaves garnish on the dosa says much about her eye for detail.
Paan Gulkand Drink.Now that is what you call innovative,isn't it?Betel leaves paste mixed with gulkand and milk and made into a cool refreshing drink.Perfect for the blazing summer heat!
Vegetable Kerala Biryani,now this one was new to me.Being born and brought up in Kerala,I have seen many a Biryanis,tasted quite a few as well,but this one looked so wholesome and delicious-a must try!
Along with baking recipes,if a blog has a good dose of vegetarian side-dish recipes,especially with paneer I mentally make a note to come back to the blog again and again.Such was the pull of this picture of Paneer Butter masala.
Cakes,how can a recipe for a baked good not make its presence here?So here's one of my favorites Eggless Apple Upside down cake made with atta and jaggery.
A step by step post for making Strawberry Falooda,now that is something I am going to try soon,very soon.

Dassana also has a section on Food blogging tips,resources for food bloggers and tips on how to start a food blog.

*All pictures published with the bloggers permission.

Monday, June 3, 2013

Dilkush Buns - Soft Bread rolls with Coconut-Tutti frutti filling

Whenever someone reminisces about the food served in their school/college canteens,I sit dumb founded.I did my education in a convent institution beginning with the kindergarten through my graduation.I might have stepped into the campus canteen maybe once or twice in all those years.Primary reason being,the canteen stunk and stunk big time.
Dilkush Buns
Maybe because during that period I wasn't as familiar with non-veg food as I am now or maybe it was the lack of cleanliness;it was a never-go-even-if-you're-dying place for me.Of course,when I had fresh and delicious food packed in a dabba from home,there was no need to as well.

Things changed when I came to Chennai and did a regular course in one of the colleges here.Getting up in an ungodly hour to make breakfast and pack lunch and hurry to the bus stop made me very receptive towards the canteen for those days when I woke up late or couldn't find time to eat breakfast at home.
Dilkush Buns
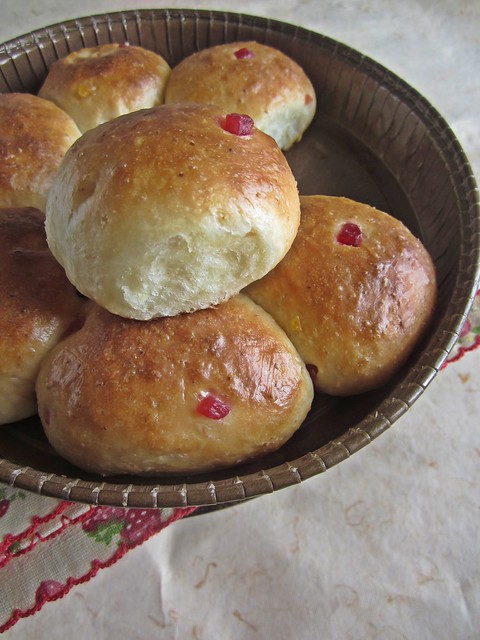
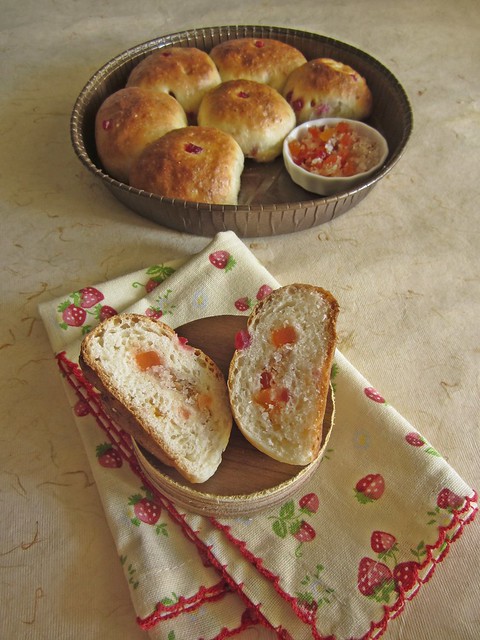
Snack time between classes always meant a visit to the makeshift canteen.Depending on the time of the day we had an option of having Poori-bhaji,idli-sambhar and bread-sandwich.If nothing else there was this delicious and filling Dilkush Buns.Filled with sweetened coconut and tutti frutti,it was a hearty dessert-meal.I don't remember having this elsewhere and even now sometimes crave for it.

When we made Hokkaido Bread for WKtB,I decided to try out this bread after all.The bread rolls were soft and pillowy and I felt it would make for a perfect Dilkush and undoubtedly they were!Don't go by the lengthy process,it really is a wonderful bread to bake.
Dilkush Buns
Dilkush Bread using Hokkaido Milk Bread With Tangzhong Recipe
(Original Recipe from 65 Degrees Tangzhong “65C Bread Doctor” by Yvonne Chen, and adapted from Kirbie’sCravings)
Ingredients: 

For The Tangzhong (Flour-Water Roux)

1/3 cup all-purpose flour
1/2 cup water
1/2 cup milk 
For The Dough:

2 1/2 cups all-purpose flour
3 tbsp sugar
1tsp salt
2 tbsp powdered milk
2 tsp instant dried yeast
1/2 cup milk (and a little more if needed)
1/8 cup cream (25% fat)
1/3 cup tangzhong (use HALF of the tangzhong from above)
25gm unsalted butter (cut into small pieces, softened at room temperature)
1/2 to 3/4 cup mini chocolate chips if making the chocolate chip rolls 
Method: 
The Tangzhong  (Flour-Water Roux):

Hokkaido Milk Bread-step1 
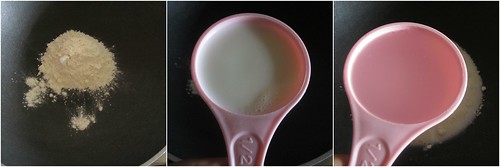
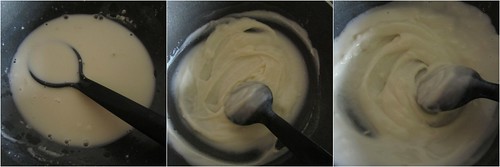
Whisk together lightly the flour, water and milk in a saucepan until smooth and there are no lumps. Place the saucepan on the stove, and over medium heat, let the roux cook till it starts thickening. Keep stirring/ whisking constantly so no lumps form and the roux is smooth.
Hokkaido Milk Bread-step2 
If you have a thermometer, cook the roux/ tangzhong till it reaches 65C (150F) and take it off the heat. If like me, you don’t have a thermometer, then watch the roux/ tangzhong until you start seeing “lines” forming in the roux/ tangzhong as you whisk/ stir it. Take the pan off the heat at this point.
Let the roux/ tangzhong cool completely and rest for about 2 to 3 hours at least. It will have the consistency of a soft and creamy crème patisserie. If not using immediately, transfer the roux to a bowl and cover using plastic wrap. It can be stored in the fridge for about a day. Discard the tangzhong after that.  
The Bread Dough:

I made this dough in the food processor. This dough can be made by hand but the dough is a bit sticky and can take some time and effort to knead by hand. If you have some sort of machine which will do the kneading for you, use it. Don’t punish yourself. And do not add more flour to make it less sticky either!
Hokkaido Milk Bread-step3 
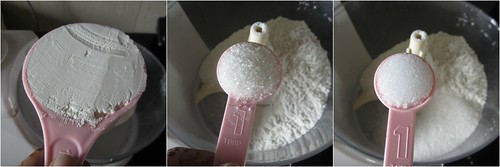
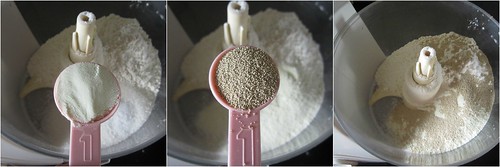
Put the flour, salt, sugar,Hokkaido Milk Bread-step4 
powdered milk and instant yeast in the processor bowl and pulse a couple of times to mix.
Hokkaido Milk Bread-step5 
In another small bowl mix the milk, cream and Tangzhong till smooth and add to the processor bowl. 
Hokkaido Milk Bread-step6 
Run on slow speed until the dough comes together. Now add the butter and process till you have a smooth and elastic dough which is just short of sticky.
The dough will start out sticky but kneading will make it smooth. If the dough feels firm and not soft to touch, add a couple of tsps of milk till it becomes soft and elastic. When the dough is done, you should be able to stretch the dough without it breaking right away.  When it does break, the break should be form a circle.
Hokkaido Milk Bread-step7 
Form the dough into a ball and place it in a well-oiled bowl turning it so it is well coated. Cover with a towel, and let the dough rise for about 45 minutes or till almost double in volume.  
Hokkaido Milk Bread-step8 
Place the dough on your working surface. You don’t need flour to work or shape this dough. This recipe makes enough dough to make one loaf (9” by 5” tin), 2 small loaves (6” by 4” tins) or 1 small loaf (6” by 4”) and 6 small rolls (muffin tins). Depending on what you are making, divide your dough. If you are making 1 loaf, divide your dough in 3 equal pieces. If you are making two smaller loaves, divide your dough into 6 equal pieces.
For the Coconut Tutti-Frutti filling
Ingredients
Ghee - 1 tbsp
Grated coconut - 1/2 cup
Sugar - 1/4 cup
Tutti-frutti - 1/2 cup
Method
Dilkush Buns 
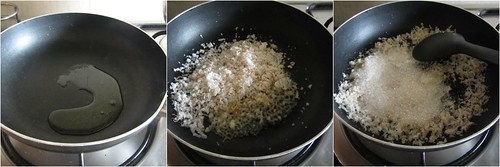
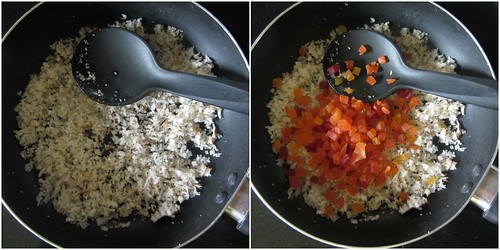
In a pan add ghee and saute grated coconut and sugar till light brown.
Dilkush Buns 
Mix in the tutti frutti and keep aside.
Filling and shaping the buns
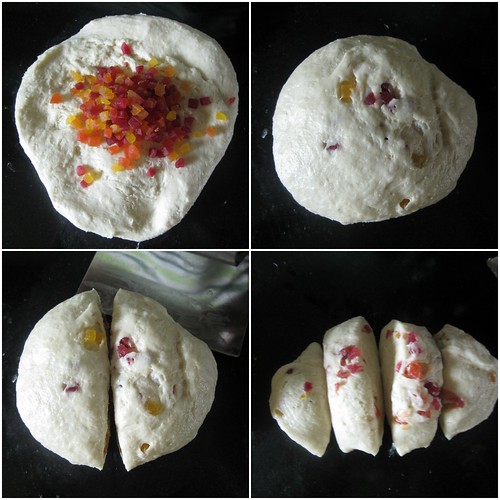
Dilkush Buns 
I added half the filling into the whole dough and then started shaping it into smaller rolls.
The shaping of the portions, whether for the loaf or the rolls, is the same.
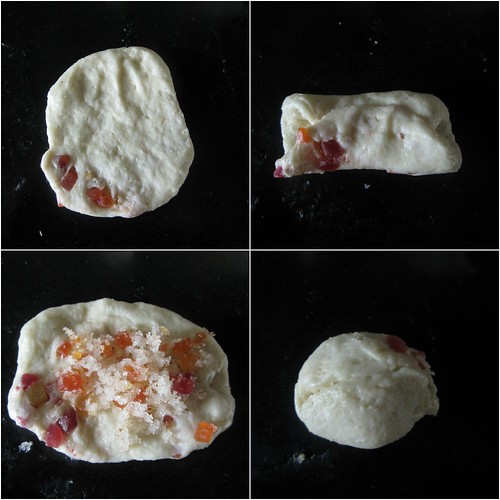
Dilkush Buns 
Roll out each portion of the dough with a rolling pin into an oval shape, about 1/8” thick. Take one end of the dough from the shorter side of the oval and fold it to the middle of the oval. Take the other end and fold so it slightly overlaps the other fold.
Roll this folded dough with the rolling pin so the unfolded edges are stretched out to form a rectangle. 
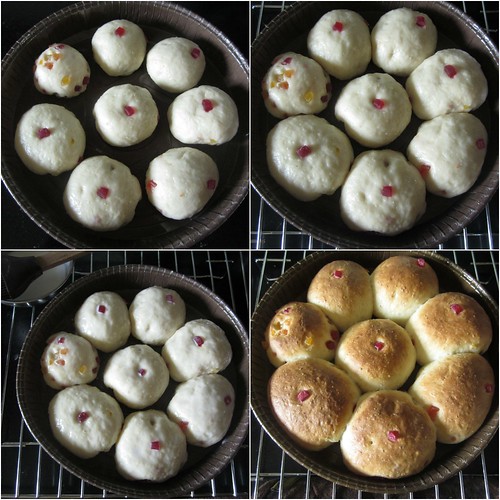
Place 1 tbsp of filling and then roll the rectangle from one short edge to the other, pinching the edges to seal well. Do this with each of the pieces and place them, sealed edges down, in a well-oiled loaf tin. Cover with a towel and leave the dough to rise for about 45 minutes.
Dilkush Buns 
Carefully brush the tops of the rolls and the loaf with milk (or cream) and bake them at 170C (325F) for about 20 to 30 minutes till they are done (if you tap them they’ll sound hollow) and beautifully browned on top. Let them cool in the tins for about 5 minutes and then unmould and transfer to a rack till slightly warm or cool.
Dilkush Buns
Serve or else store in a bread bin. This bread stays soft and delicious even the next day. This recipe makes enough dough to make one loaf (9” by 5” tin), 2 small loaves (6” by 4” tins) or 1 small loaf (6” by 4”) and 6 small rolls (muffin tins).

I'd highly recommend this bread to everyone who think bread baking is not as easy as it seems to be.Many a times,I've been disheartened too-sometimes the yeast was faulty,sometimes the recipe was faulty or sometimes,I might have done something wrong.This recipe is the answer-soft,pillowy and spongy,bread which you thought you only got in bakeries can now be made at home and with an almost fool-proof recipe.


Related Posts Plugin for WordPress, Blogger...
 
Pin It button on image hover